Private browser tool · No signup · No watermark
Image Mix
Two images on one canvas. Control how their pixels interact — from a plain transparent overlay to multiply, screen and soft light.
- Local processing
- JPG, PNG & WebP
- Works on phone
Two different jobs wear the same name
People arrive at "image mix" wanting one of two quite different things, and the settings that serve one are wrong for the other.
Making something. A double exposure, a texture over a portrait, a logo on a photograph, a colour wash across a background. Here the blend mode is the creative decision and you will try several before one clicks.
Checking something. Two versions of the same shot, two scans, two screenshots of a design — laid on top of each other to see what moved. Here you want Normal mode at around 50 percent opacity and nothing else. Anything that does not line up shows as a ghost, which is faster and more precise than flicking between two tabs.
If you are doing the second, you are done after this paragraph: add both images, set Normal at 50 percent, and look at the edges.
Blend mode reference
A blend mode is arithmetic performed per pixel between the top layer and the base. Opacity is separate and controls how much of that result you keep. The two interact, which is why guessing is slower than reading what each mode actually does.
Multiply darkens. White in the top layer disappears entirely and black stays black — which makes it the mode for putting ink, stamps, handwriting or any dark mark on a light background. It also deepens shadows, so a dark base gets muddy fast.
Screen lightens, and is the exact mirror: black in the top layer disappears, white stays. This is the workhorse for light effects — flares, sparks, smoke, fireworks, light leaks — and for lifting a bright subject onto a dark base.
Overlay and Soft light both use the base to decide the direction: dark areas of the base get darker, light areas get lighter. Overlay is the assertive version and Soft light the gentle one. These are the modes for adding texture — paper grain, concrete, fabric — without flattening the subject underneath.
Darken and Lighten compare the two layers pixel by pixel and keep whichever is darker or lighter. They are blunter than Multiply and Screen and hold their own better on high-contrast pairs.
Normal does no arithmetic — the top layer simply covers the base, and opacity alone decides the mix. It is the right choice for alignment checks and for placing a graphic that should look placed rather than blended.
Which image should be the base
The first image is the base, and it sets the canvas. The output takes its dimensions from the base, so anything on the overlay that extends past those edges is cut off.
This catches people out when the overlay is the larger of the two. Put the bigger image — or whichever one should survive whole — in first. If you get it wrong, Swap layers exchanges them without re-adding anything.
The base also changes what a blend mode does, because the arithmetic is not symmetric. Multiply over a dark base behaves very differently from the same pair swapped, so if a mode looks wrong, try swapping before abandoning the mode.
Recipes
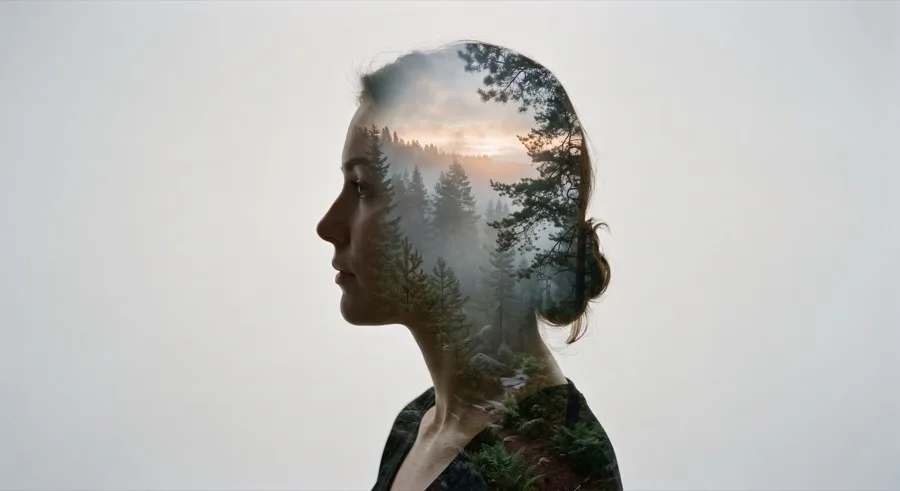
Double exposure with a portrait. Portrait as base, texture or landscape on top, Screen mode, opacity 60–80 percent. Screen lets the bright areas of the second image sit in the shadows of the face. Multiply instead if the portrait is bright and the texture is dark.
Texture on a flat surface. Photograph as base, paper or concrete texture on top, Soft light at 30–50 percent. Push to Overlay if the effect is too subtle to see.
Logo or watermark on a photo. Photo as base, logo on top, Normal mode. Use a transparent PNG and export as PNG. Multiply works for a dark logo on a light photo if you have no transparency.
Alignment check between two versions. Normal at exactly 50 percent. Shifted edges appear as doubling; identical areas stay clean.
Colour wash. Photo as base, a solid colour block on top, Soft light or Overlay at 20–40 percent for a graded tint that keeps the underlying detail.
Three or more layers are not supported here — but the export from one mix can be added back as the base of the next, which achieves the same thing in steps.